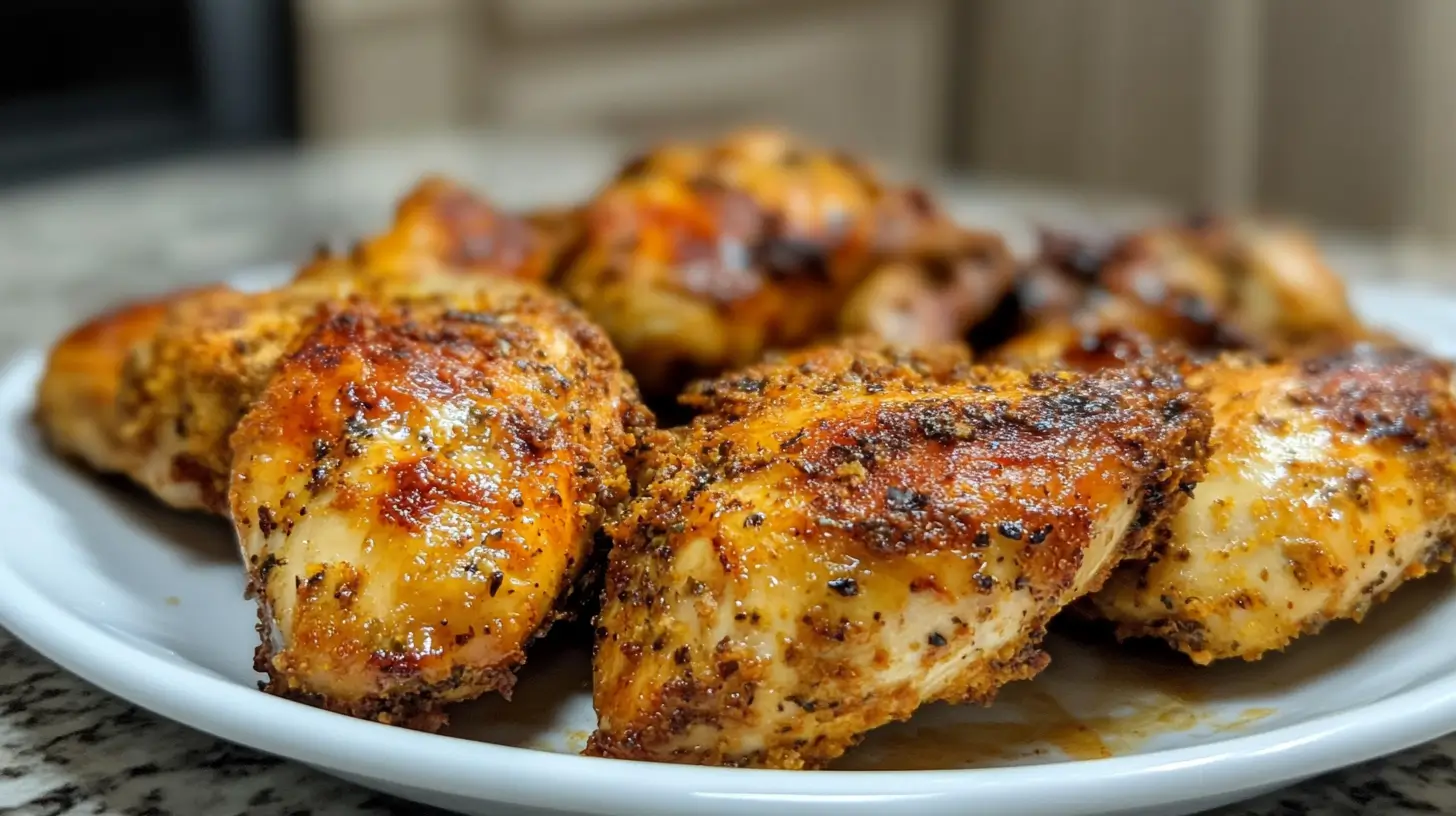
Easy Shake and Bake Chicken
If you’re craving something crunchy and flavorful without the mess of deep frying, Easy Shake and Bake Chicken is the perfect solution. It’s a no-fuss dish that uses everyday pantry ingredients to deliver a homemade version of a nostalgic favorite. Whether you’re feeding a hungry family or preparing meals ahead, this recipe offers convenience without sacrificing taste.
Let’s explore everything from the origins of this dish to how you can make your own version with tips, tricks, and tasty variations.
Table of Contents
What is Shake and Bake Chicken?
Originally launched in the 1960s by Kraft, Shake ‘N Bake gave home cooks a shortcut to crispy, oven-baked chicken without the oil or hassle of frying. It came in a box, included a seasoning mix and a bag to shake the chicken in. The technique caught on quickly—and many people now prefer to make it from scratch to control ingredients and flavor.
Homemade Shake and Bake is fresher, more customizable, and free of preservatives—plus, it’s incredibly easy to make.
Ingredients (Easy Shake and Bake Chicken)
Here’s what you’ll need to prepare 4 servings of crispy Shake and Bake chicken:
🛒 Ingredients:
- 4 bone-in, skin-on chicken thighs (or substitute breasts or drumsticks)
- 1 cup plain breadcrumbs (panko or regular)
- 1 teaspoon salt
- ½ teaspoon black pepper
- 1 teaspoon garlic powder
- 1 teaspoon onion powder
- 1 teaspoon paprika (smoked or sweet)
- ½ teaspoon dried oregano
- ½ teaspoon dried thyme
- ½ teaspoon mustard powder
- 1 tablespoon grated Parmesan cheese (optional)
- 2 tablespoons vegetable oil (for browning the coating)
- 2 tablespoons milk or water (to lightly moisten the chicken)
🍳 Tools:
- Large zip-top plastic bag or large mixing bowl
- Rimmed baking tray
- Oven-safe rack (optional but recommended)
- Nonstick spray or reusable silicone mat
Step-by-Step Instructions
1. Preheat the Oven
Set your oven to 400°F (200°C). If using an oven-safe wire rack, place it inside a rimmed tray. Lightly coat your tray or rack with nonstick spray to avoid sticking and make cleaning easier.
2. Mix the Coating
In a bowl or large plastic bag, combine:
- 1 cup breadcrumbs
- 1 tsp salt
- ½ tsp black pepper
- 1 tsp garlic powder
- 1 tsp onion powder
- 1 tsp paprika
- ½ tsp oregano
- ½ tsp thyme
- ½ tsp mustard powder
- 1 tbsp Parmesan (optional)
- 2 tbsp vegetable oil
Stir or shake everything together until the breadcrumbs are evenly coated with the seasoning and oil.
3. Prep the Chicken
Pat your chicken pieces dry with paper towels. Lightly brush or sprinkle them with a bit of water or milk—this helps the coating stick properly without sliding off during baking.
4. Coat the Chicken
Drop one or two chicken pieces at a time into the breadcrumb mixture. Seal the bag or cover the bowl, and shake or toss until the chicken is thoroughly coated on all sides.
5. Arrange on Baking Tray
Place the breaded chicken on your prepared tray or rack. Be sure to leave at least an inch between each piece so hot air can move around and crisp everything evenly.
6. Bake to Perfection
Bake the chicken for 35 to 40 minutes. It’s done when the coating turns a deep golden brown and a meat thermometer inserted into the thickest part reads 165°F (74°C).

Tips for the Best Results
- Dry, then dampen: Make sure your chicken is dry before applying moisture. This improves adhesion and texture.
- Don’t overcrowd the tray: Air circulation is key to crispiness.
- Use panko for extra crunch: Panko breadcrumbs are lighter and create a crispier finish than traditional ones.
- Rest before serving: Let the chicken sit for 5 minutes after removing from the oven to keep juices sealed in.
Creative Flavor Twists
Once you’ve nailed the base version, there’s plenty of room to get creative and tailor the recipe to your preferences:
- Spicy Crust: Add ½ teaspoon cayenne or hot paprika for extra heat.
- Cheesy Blend: Mix in more Parmesan or some shredded cheddar for cheesy goodness.
- Citrus Zing: Add lemon zest or lime zest to the breadcrumb mix.
- Italian Style: Use Italian seasoning and serve with marinara or garlic aioli.
These additions can elevate the dish with minimal extra effort.
What to Serve With Shake and Bake Chicken
This dish goes well with a variety of sides. Here are a few crowd-pleasers:
- Creamy mashed potatoes
- Steamed green beans or broccoli
- Macaroni and cheese
- Garden salad with vinaigrette
- Roasted sweet potatoes or carrots
Dip the chicken in ranch, BBQ sauce, or honey mustard for extra flavor.
How to Store and Reheat Leftovers
• Refrigeration:
Let the chicken cool fully. Store it in a sealed container and keep it in the refrigerator. It will stay fresh for about three days.
• Reheating:
To bring back the crispiness, warm the chicken in a 375°F (190°C) oven for 10–12 minutes. Avoid the microwave, as it can soften the coating.
• Freezing:
Wrap cooled pieces in foil or parchment and place them in a freezer bag. You can freeze them for up to 2 months. Reheat directly from frozen in the oven for best texture.
Nutritional Information (Per Serving – Approximate)
- Calories: 320
- Protein: 28g
- Carbohydrates: 14g
- Fat: 18g
- Fiber: 1g
- Sodium: 600mg
If you’re watching your calories or fat intake, you can use boneless, skinless chicken breasts and bake them on a wire rack to help drain excess fat.
Frequently Asked Questions (FAQs)
Q: How do I keep the breading from slipping off?
To get a good grip on the meat, lightly moisten the chicken before coating. Then, press the crumb mixture onto each piece with your hands before placing it on the tray. Avoid flipping or moving the chicken too much while it bakes.
Q: Can I use gluten-free breadcrumbs?
Yes, and it works beautifully! Just be sure to check the labels on your seasonings to ensure they’re gluten-free too.
Q: Is this recipe suitable for the air fryer?
It is! Preheat your air fryer to 375°F, and cook the chicken for 15–18 minutes, flipping halfway through to ensure both sides get crispy.

Final Thoughts (Easy Shake and Bake Chicken)
Easy Shake and Bake Chicken is the ultimate combination of convenience, crunch, and comfort. With endless possibilities for flavor customization and quick cleanup, it’s no wonder this dish continues to be a favorite in kitchens everywhere.
Whether you’re making it for your family or prepping for the week, this recipe delivers that satisfying “fried” crunch—without a drop of oil.
For more creative ideas, check out this One Pot Chicken Pomodoro Recipe.
There are no reviews yet. Be the first one to write one.